Showing posts with label bookbinding. Show all posts

Wednesday, 16 November 2016

Wines in my Garden....

 Though there are many beautiful decorative and constructed papers available to buy, it is nearly always the case that there is never one that hits the nail on the head when working with an a particular design in mind.
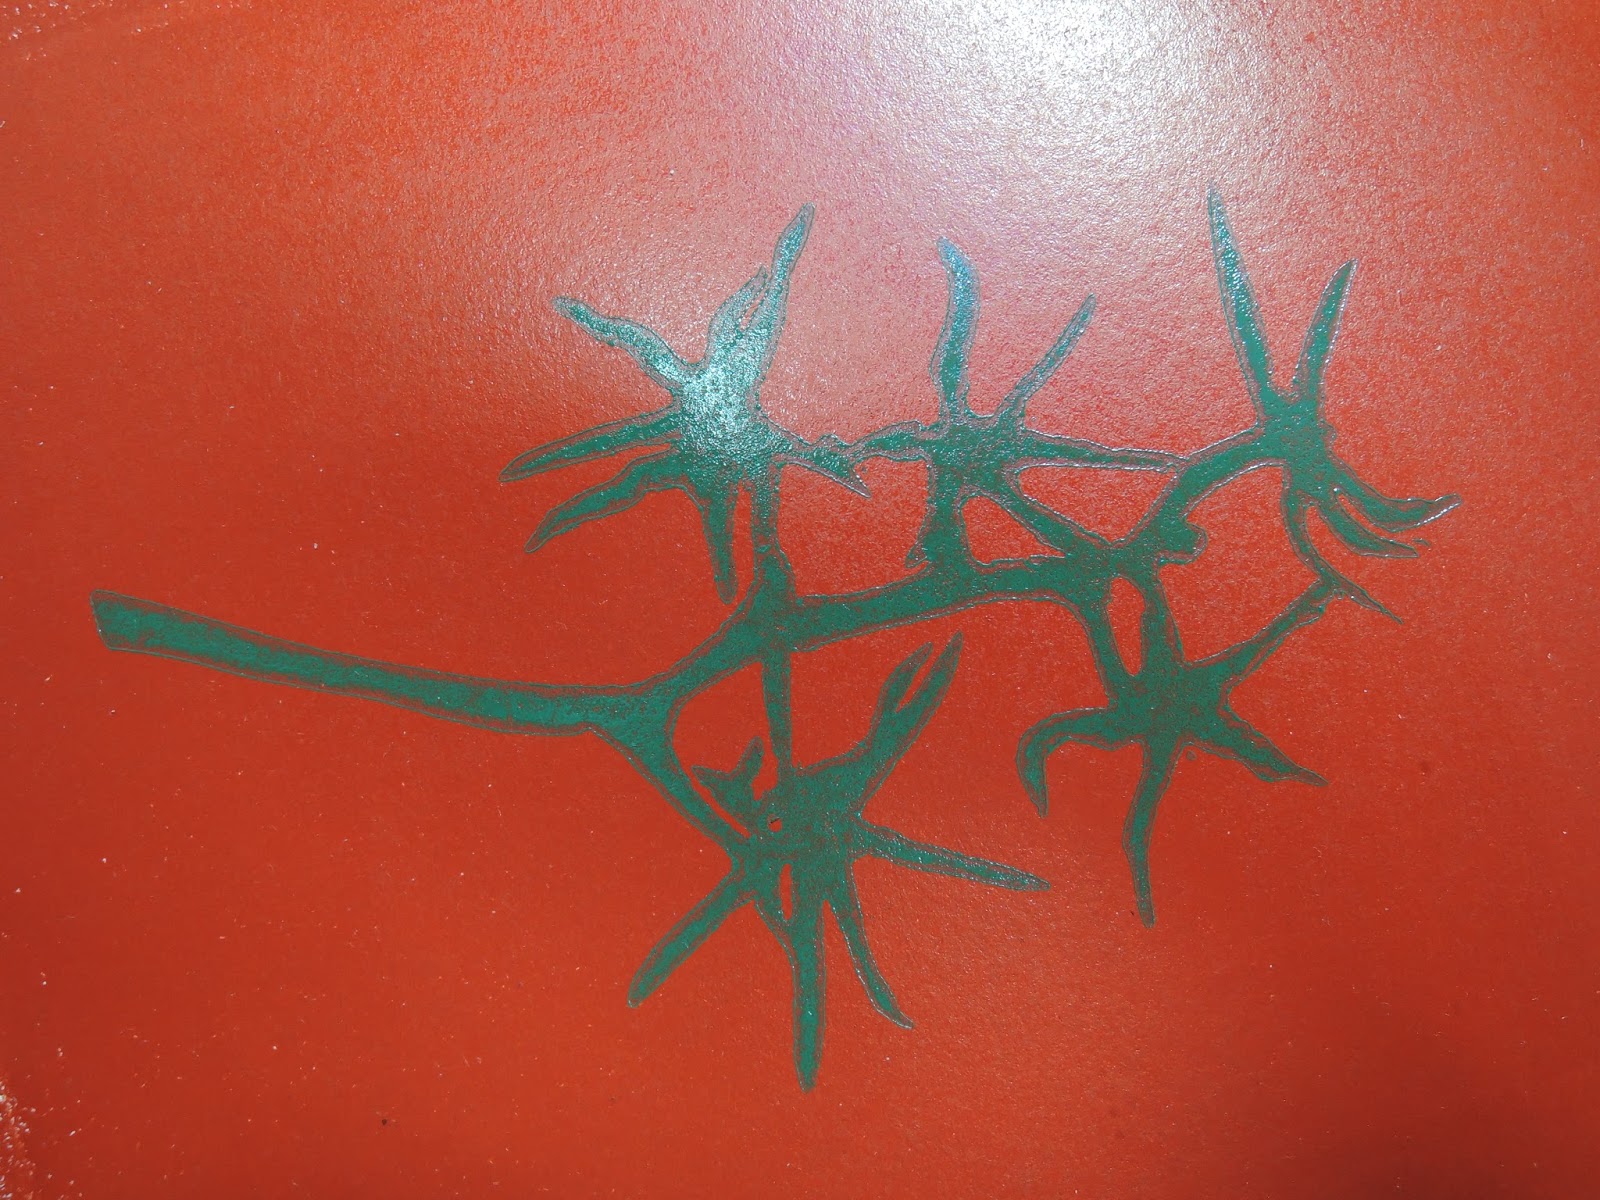
For Wines in my Garden I wanted to use use tomatoes.

 In particular... Tomatoes on the vine. I wanted to simplify and to narrow the colour printing down to just 2 colours per end paper. First I mixed my inks and rolled out the base colours. A rich red and acid green/yellow. I then made a simple lino cut of the stem and leaves of a tomato vine and over printed. The end papers were then allowed to dry.

 I have been sharing with Erin Fletcher, a book binder from Boston, Massachusetts, some of my decorative techniques. this has been very cool as I have been able to use the woskshop demonstrations as a test for the design for the outer boards. The "Swiss Roll" technique (above) will provide stylized flowers.
Whilst the "Dicated" work (below) will provide the wine....

Wines in my Garden is a miniature book printed by the Whittington Press.

Tuesday, 26 April 2016

PUNK A to Z

The Front board nears completion. With only a few days to go before the Designer Bookbinders Covered Exhibition . I am beginning to to feel the edge. It will be finished and for sale.

From the very start of this binding I have enjoyed every process. When I discard the conventions and traditional materials of "fine" or "design" bookbinding, I open a new palette of design opportunities and methods of expression. I work with my craft and technique. They are my tools that allow me to create my art.


Tuesday, 13 January 2015

The 4 Gospels, final leather paring.


Final leather paring.


The leather is creased and given a memory along the joints with gentle strikes with a hammer.  


Then the joint area of the spine is pared down ... not to much as we still want to keep the strength but allow for flexing.  


Then more paring at the head and tail of the spine area, this is to allow for the leather that turns in... basically to keep the spine as smooth as possible.  


The final cut... a single cut to scollop and feather the turn-in at the head and tail. All simple and not a spoke shave in sight.

Monday, 22 October 2007

The Man Who Died


The Man Who Died by D.H. Lawrence with illustrations by John Farleigh.


A full leather binding that is very near to completion.

Front board detail


Back board detail

The original leather was Fair Goat (a pale cream colour) that I first dyed with black leather dye creating two distinct white areas.
The text block was resewn with new end papers, more about those later and end bands of Japanese silk.
Once the book had been bound I allowed it to rest. This is important as the leather can contain moisture from the various adhesives I use for some time and can effect the final look of the book. In fact a book can can spend much of the time resting inbetween the various hands on time (me working on it) During this time I usually finalise the design of the book and practise the techniques that will be employed to realise my scribbles.
The red,white and black lines and circles are seperate pieces of leather that are inlaid in to recesses that are cut in the covering leather. It sounds simple and in theory is, however, as with many simple things the detail is in the execution. The initial cuts must be correct first time and the inlays of leather must fit perfectly.


The illustrations are sumptuous wood cuts by John Farleigh

When binding a book of this nature I try not to compete with the contents (as I am in no way in the same league) I aim to compliment. I consider the end papers to be a vital key in the transition from the text block to the binding. I usually print my own, taking elements or themes from the illustrations or the text. The end papers are made with a leather joint that leads on to the Doublures (a posh way of saying the end paper adhered to the inside of the board)


Printed front end paper and doublure. The doublure will be trimmed to size and put in place over the next few days.